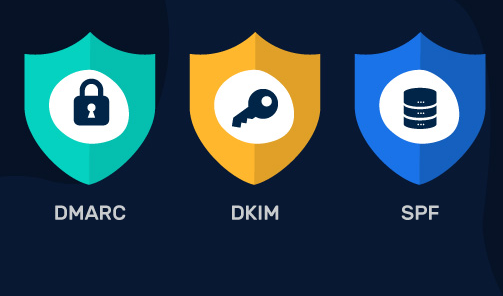
If you’re about to launch your email marketing campaign, you must be familiar with the DMARC, SPF, and DKIM parameters. This is extremely important when it comes to reaching all your recipients and, above all, avoiding ending up in the spam zone, where it’s impossible for a marketing campaign to work
These parameters, although we’ll discuss the importance of each one in more detail throughout the post, are authentication protocols that, in simple words, help us to prevent our domain from being targeted by phishers, which will use our name to try to send spam to different e-mails with the objective of obtaining the customer’s personal data.
To avoid this attack, there are DMARC, SPF, and DKIM protocols, which will really help us to maintain our security and the reputation of our website or domain. But, in order for them to work, they must be configured, and in this post, you’ll learn how to do it.
We’ll now explain in depth the DMAR, SPF, and DKIM protocols, their importance, how to configure them, and much more. If you don’t want to miss anything, stay with us until the end.
What is DMARC?
Domain-based Message Authentication, Reporting & Conformance, or DMARC, as it’s commonly known, is a technical protocol that protects users and domain owners against phishing and email phishing, which is a fraudulent practice aimed at stealing personal information, passwords, etc.

The owner of a domain can publish a policy in the DNS records of his domain detailing which mail servers can send mail on behalf of that domain and what to do with messages that fail authentication tests. In short, this is basically how the e-mail authentication protocol works.
This policy may include instructions for email recipients to reject, quarantine, or accept direct communications when receiving an email from this domain.
By using DMARC, owners of email domains and web pages can protect their users and their website from spammers and phishers trying to send messages that appear in your domain. This really helps to prevent spam, which usually arrives in the spam folder, and phishing, which can lead to the loss of confidential data or financial fraud.
Since several well-known e-mail service providers have implemented and supported DMARC, we can conclude that this is a fundamental tool for ensuring the security and authenticity of e-mail.
Why is DMARC important?
- Protects you against email fraud and phishing: DMARC allows the owner of a domain to define which mail servers can send e-mails on behalf of his domain, which helps prevent email fraud and phishing. An incoming e-mail message may be rejected or labeled as spam if DMARC validation fails. As a result, it becomes more difficult for attackers to send phishing emails that appear to originate from your domain.
- Supports industry standards: Many popular email service providers support the DMARC email authentication standard. By implementing DMARC, you can show your commitment to email security and the best practices while complying with the standards.
- Increases e-mail security: To create a complete email authentication system, DMARC works together with other email authentication protocols such as SPF and DKIM, which you’ll learn about in this post, so you can strengthen your email security and defend against email-based threats.
- Improve e-mail reputation: Implementing DMARC can help increase the overall trust and credibility of your email communications, as well as the reputation of your domain. This can be crucial for some companies that tend to use e-mail as their primary form of communication.
- Improve email deliverability: By ensuring that your legitimate email communications are properly authenticated and not rejected or labeled as spam, DMARC can help improve the deliverability of your emails. This could lead to better email interaction and increased communication with customers.
How to Configure DMARC?
If you’re interested in configuring DMARC to start working efficiently on your website and your domain in general, follow these steps:
1. Login from your DNS hosting account to your domain control panel.
2. Create a .TXT record, filling in the fields with the name of your website, which, in this specific case, will be yourweb.com.
Name: _dmarc.yourweb.com.
Record type: TXT
Value: v=DMARC1; p=none; rua=mailto:admin@yourweb.com
3. Save the changes, wait for them to be applied, and you’re done.
How to Use DMARC?
Once configured, you’re probably wondering, what do I do with this? Easy, now that it’s ready to use, you can use the following records:
· p=none: The server will do nothing, but you’ll be warned about the traffic of this email. It’s used like this:
v=DMARC1;p=none;rua=mailto:admin@yourweb.com
· p=quarantine: Unverified emails are sent to spam. This is how you should use it:
v=DMARC1;p=quarantine;rua=mailto:admin@yourweb.com
· p=reject: All unverified emails are rejected here; you can choose the rejection rate in a value from 0 to 100. If you want 50%, for example, you should use this command like this:
v=DMARC1;p=reject;pct=50;rua=mailto:admin@yourweb.com
If you had any problem configuring it, I leave you an explanatory video.
What is SPF?

The owner of a web domain can determine which mail servers can send emails on behalf of his domain using SPF (Sender Policy Framework), an email validation mechanism that helps prevent email spoofing, which goes hand in hand with DMARC and, although they may seem to be two identical protocols, they do not work the same way.
SPF works by specifying a list of approved mail servers in a domain’s SPF record, which is available in the domain’s DNS records.
The SPF record is a simple text file that lists the mail servers that the domain is allowed to use to send emails.
When an e-mail message is received, the recipient can verify whether the message was sent from a valid mail server by looking for the SPF information for the domain in the message headers.
The recipient of the e-mail may reject it, mark it as spam, or take other necessary actions in response to a message that was not sent from a trusted server.
The owner of a given domain can ensure that only email received from approved servers reaches the recipient’s mailbox by using an SPF protocol.
The use of this protocol makes it more difficult for attackers to send messages pretending to be from the owner’s domain and protects the owner and users against phishing.
Why is SPF Important?
- Protection against e-mail spoofing: SPF helps prevent virtual data thieves from sending emails from fictitious or modified addresses, which can be exploited for phishing or malware distribution.
- Supports additional e-mail security measures: To provide a comprehensive email security solution, SPF can be used with additional email security measures such as DMARC and DKIM, which are often complementary and necessary to each other.
- Increased email deliverability: Domain owners can reduce the probability of their legitimate emails being classified as spam by installing SPF.
- Widely used: SPF has been widely used by email service providers and is now considered an industry standard.
- Authentication: SPF allows email recipients to confirm the legitimacy of the sender’s email address and identify potentially fraudulent or harmful communications.
- Simple and basic: SPF is an easy-to-implement protocol that domain owners can use.
- Helps to maintain a good reputation: By reducing the possibility of harmful emails being sent from a domain, SPF can help protect the reputation of that domain.
How to Configure SPF?
In order to set up SPF, a textual record of servers used in the email marketing campaign must be created, and we’ll explain next how you can do this in very simple steps:
- First and foremost, select the servers you’ll use in your campaign.
- Once you’ve chosen them, access the control panel that you’ll find in the hosting provider of your domain.
- Create a .TXT record and fill in all the fields, replacing yourweb with the name of your site.
Name: @ (domain name or leave it blank)
Record type: TXT
Value: v=spf1 include:spf.yourweb.com ?all
TTL: 21600 (or “default”)
4. Save the file and wait for the changes to be applied, which can take up to 72 hours, depending on the DNS server.
How to Check the SPF Configuration?
Once you’ve finished configuring the SPF protocol, it’s time to verify that this configuration is taking effect. To do so, log in to MxToolbox and enter your domain name in the search bar and then click on MX Lookup to display the menu, select the TXT Lookup option, and press the button again. When the search is finished, the TXTs of your domain will be displayed, where the SPF settings should appear. When the search is finished, the TXTs of your domain will be displayed, where the SPF configuration should appear.
You can also check SPF configuration with other equally simple methods, such as alternative platforms like DNSWatch or SPF Check.
If you had any problem configuring it, I leave you an explanatory video.
What is DKIM?
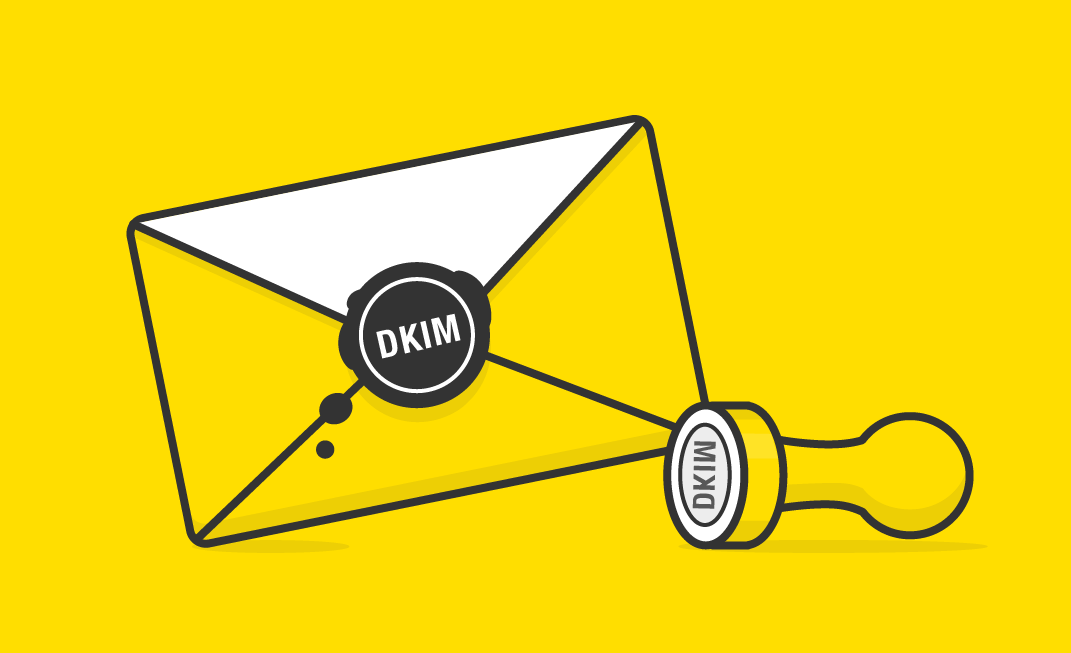
The protocol known as DKIM (DomainKeys Identified Mail) is an e-mail authentication system that allows recipients to confirm the legitimacy of e-mails that were received from a specific domain.
Email spoofing, which occurs when a hacker sends an email that appears to come from a trusted source but is fake, is what DKIM intends to detect and prevent.
With the use of DKIM (DomainKeys Identified Mail), an e-mail can be authenticated, mainly so that the addressee can verify that it was received from the claimed domain and that it was not modified during transportation.
A public/private key pair is generated when a domain owner configures DKIM. While the public key is available in the domain’s DNS records, the private key is used to sign the emails that are sent.
The public key can be used to validate the digital signature of the email when a recipient’s mail server receives an email purporting to be from the domain. The email was sent from a trusted source if the signature is genuine.
E-mail senders can improve the legitimacy of their messages and prevent the recipient’s server from misclassifying them as spam or rejecting them by using DKIM. Since the recipients can be sure that the email they received is from the domain it claims to be from, it can also give them a greater sense of security.
Please be aware that the classification of a domain as spam is extremely serious because, in case it’s confirmed, you should contact the e-mail company to fix this situation. A domain marked as spam won’t reach any recipient’s main mailbox, thus making the goal of email marketing impossible.
Why is DKIM important?
- · DKIM can help preserve a brand’s reputation by ensuring that emails sent from the domain aren’t used maliciously. As a result, customers and other stakeholders can continue to believe in and trust the brand.
- · Your domain is protected against email fraud and phishing thanks to DKIM, which allows domain owners to choose which mail servers can send e-mail on their behalf. This helps prevent email fraud and phishing. If DKIM validation fails, an incoming email message may be rejected or marked as spam. As a result, attackers will find it more difficult to send phishing emails that appear to come from your domain.
- · By enabling DKIM, domain owners can reduce the chance of their legitimate emails being labeled as spam. This will prevent the domain from falling into a spam or fraudulent domain registry, thus making email marketing impossible.
- · DKIM can help defend end users from fraudulent emails that may threaten their security by confirming the authenticity of emails.
How to Configure DKIM?
Setting up DKIM, like the other two security protocols discussed above, is really simple, and even more so if you follow these simple steps to make it work normally and protect your domain’s email:
1. Copy your email’s public key through your domain’s email settings (the public key is in the TXT field of the DNS record).
2. Through the hosting account, enter the control panel.
3. Create a .TXT record and fill in the fields, including in “value” the code obtained previously.
Name: yourweb._domainkey
Record type: TXT
Value: v=DKIM1; k=rsa; p=MIGfMA0GCSqGSIb3DQEBAQUAA4GNADCBiQKBgQDBb87bdgzUiRs4fPm+8oNigaqFAbZ6p+mdqf0yJvljIOMonZ/SPz6Kh9bujhd7s6bA056EXXp/OghYZNE1NLC7Q4Ut+gjNfzvJyYA6DZ1rjkGFf9iFTOJbVvp/NP2ThRarMkUrpPfS6xDMrDn2qdPGazMSmq1vmW/P7SGh22OQIDAQAB;
TTL: 21600 (or “default”)
4. Accept, save the changes, and wait for them to affect your website.
How to Check the DKIM Configuration?
When you’ve finished with the DKIM configuration, you only need to check that this protocol is already active with its corresponding key in your domain. For this, you’ll use a DKIM record verification service, which can be any of the following two:
- · MxToolbox: Enter the domain in the corresponding search engine, click on “Lookup” and the MxToolbox service will automatically search and verify the key.
- · DKIMCore: This service is the same as the previous one. It allows you to manually include the key at the beginning to automatically detect whether it’s active or not.
You can also choose to access your email settings and find a tab called “Mail Properties” or something similar. There you’ll find the code under the name DKIM-Signature. Above this signature, you’ll see an authentication line, which will say dkim=pass, in case the verification was successful, and dkim=fail, in case it was wrong, and another key must be used.
If you had any problem configuring it, I leave you an explanatory video.
Why Should You Use these Protocols? Conclusion
In short, SPF and DKIM are responsible for verifying the sender of the email, while their add-on, DMARC, focuses on telling you what to do with emails received from an unidentified server.
Using the three protocols: SPF, DKIM, and DMARC, will ensure total protection for your email, your web domain, and the users who register on it. Although it’s not stated that these are mandatory and necessary protocols to be used together, the specialists and we recommend that you do so.
By using these three e-mail authentication protocols together, you can create a comprehensive email security system that helps protect your domain and users against email fraud and phishing.
In addition to its protection, as previously mentioned, you improve and maintain your domain’s reputation by committing to protecting personal data using these three protocols. Also, the focus on email protection encourages potential customers, users, and other companies to communicate with the site via email.
Keep in mind that, following the steps we recommend in this post, you’ll be able to configure the email security protocols very easily. And that’s another advantage that makes DMARC, SPF, and DKIM so important: Their ease of installation, since, with just a few scripts in a text of your domain, you’ll already have total integral protection.
If you’re going to start an email marketing campaign, it’s very important that you focus on adding these three protocols to your domain because, in addition to protecting you, they can help improve the deliverability of your legitimate email messages since they’re responsible for ensuring that they’re properly authenticated and not marked as spam or rejected.
Frequently Asked Questions
SPF is an email authentication method that verifies if the sending mail server is authorized to send emails on behalf of a specific domain. It works by comparing the sender’s IP address with the authorized IP addresses listed in the domain’s SPF record.
Yes, implementing DMARC, SPF, and DKIM together is a recommended practice for comprehensive email authentication. DMARC actually relies on SPF and DKIM to function effectively.
Some common challenges include proper DNS record setup, understanding the syntax of SPF and DKIM records, and handling the reporting aspects of DMARC. It’s important to follow the documentation provided by your email service provider and double-check your configurations.
While a basic understanding of DNS records and email authentication concepts is helpful, many email service providers offer user-friendly interfaces to guide you through the setup process.