G Suite, Google Workspace, and Gmail are part of the most used SMTP today, and that is why, when creating our application, we quickly focused on creating an easy integration with these platforms.
If you want to use our email warming service in your Gmail account, in this article, we are going to explain step by step how to do it correctly and straightforwardly.
What are the steps to integrate G Suite / Gmail with Inboxlane?
To properly integrate G Suite, Google Workspace, or Gmail account with Inboxlane, you have to follow no more and no less than three steps.
Although we developed our user panel specifically to make it very easy for you, if you are a beginner, it may take a little longer to do it correctly. That is why in this article, we are going to explain step by step everything you have to do.
1. Log in
To do this, you have to click on “Login” in the page’s top menu, as shown in the image.

Once in the login panel, you must enter your Inboxlane account details (not the G Suite account).
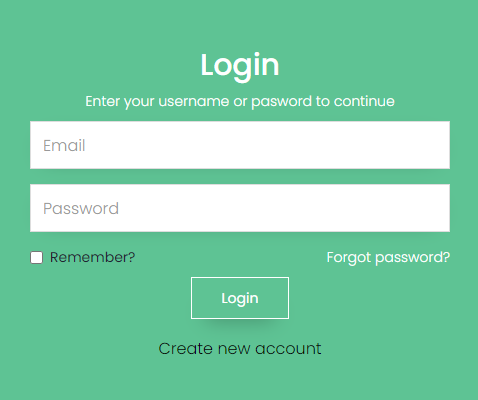
In case you don’t have an account yet, you need to create one in order to properly integrate Inboxlane into your G Suite or Gmail account.
2. Add Inbox
Once inside the application, you must go to the “Add Inbox” section, which is located on the left panel.
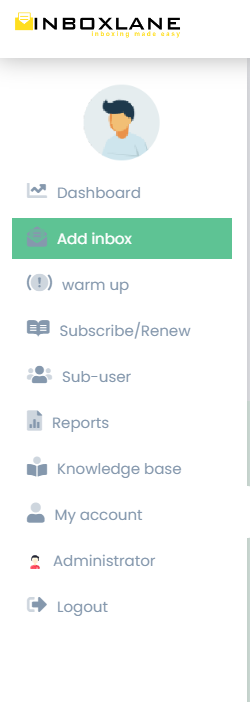
When you click there, you will be taken to a new page. There you click on the “Add Inbox+” sign at the top right.
3. Connect to G Suite / Gmail
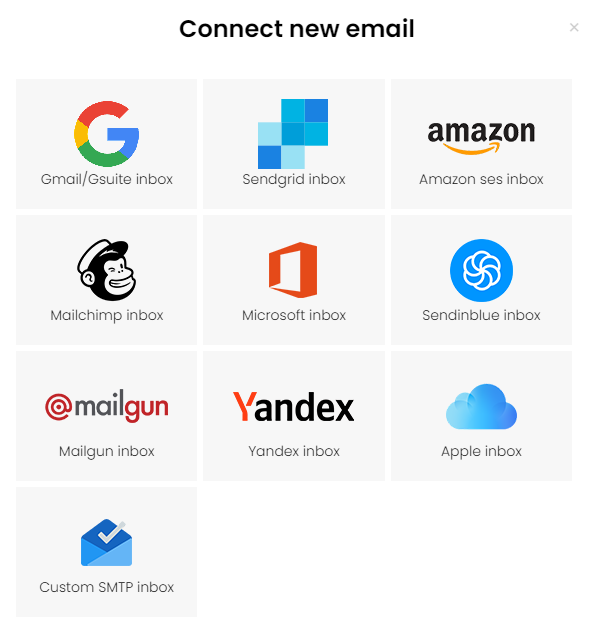
In this case, we are going to click on Gmail/G Suite, but if you have another account with another SMTP, you can choose it without problems.
Now you have to fill in the data with your Gmail/G Suite account.
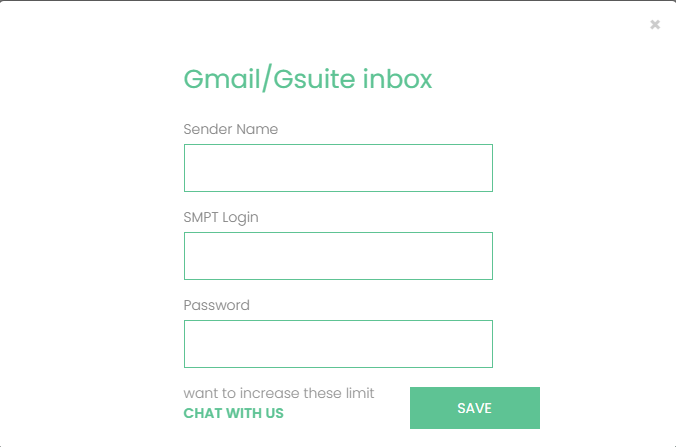
Sender Name is the name that the people you send the emails to will see. You can put your name, company name, or whatever you prefer.
Where it says SMTP Login, you have to put your email account.
And here comes one of the most important parts. You must not enter your Gmail / G Suite or Inboxlane password. You have to enter a password known as an app password.
If you have already created your Gmail app password, it’s great, you enter it there, and that’s it. Your Inboxlane account is already integrated with your email.
If you have not yet created your app password, you must continue reading the article to see what it is and how to create it.
What is an app password?
An app password is a 16-digit password that grants permission to an application or device to access your Google account.
Microsoft, like Google, also has an app password to help its users stay 100% secure and not use their primary password for all third-party applications.
In the case of Google, it is important to know that these passwords can only be created in your account if you have two-step verification enabled.
How to create an app password?
To create an app password for your Gmail, you have to follow a series of steps that I will explain below.
1. Manage your Google Account
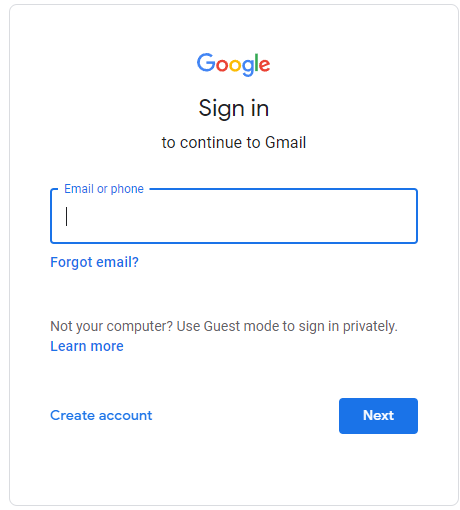
The first thing you need to do is to log in to your Gmail account.
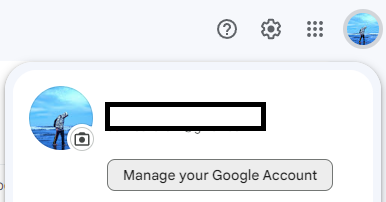
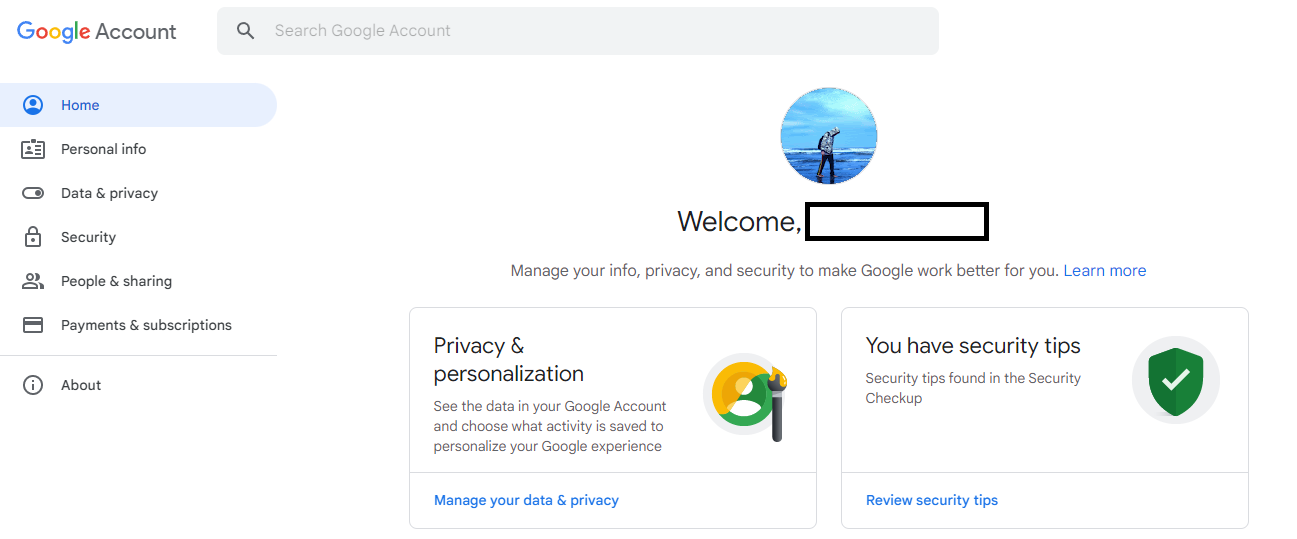
Then, go to the top right of the screen and click on the icon of your account.

Choose “Manage your Google Account”.
2. 2-Step Verification
This type of verification serves to add extra security to your Gmail account. It is very useful to prevent hackers or people from accessing your account password.
If you have the 2-Step verification activated in your account, that’s great, then go straight to step 3.
In case you don’t have it, you have to activate it to be allowed to generate the app password for your account.
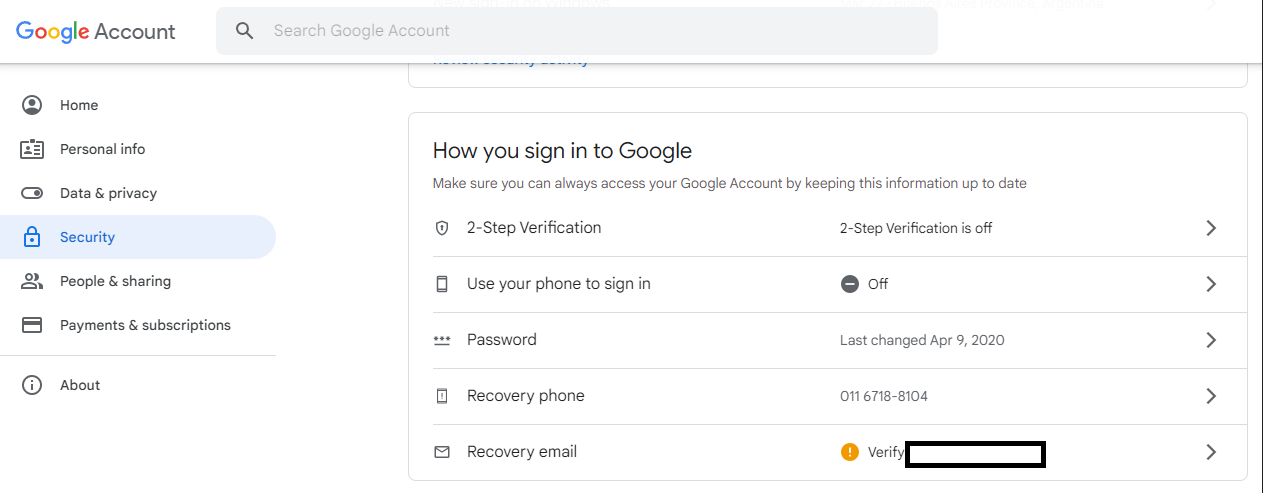
The first thing to do is click on the “Security” section in the options on the left, then click “2-Step verification is off”.
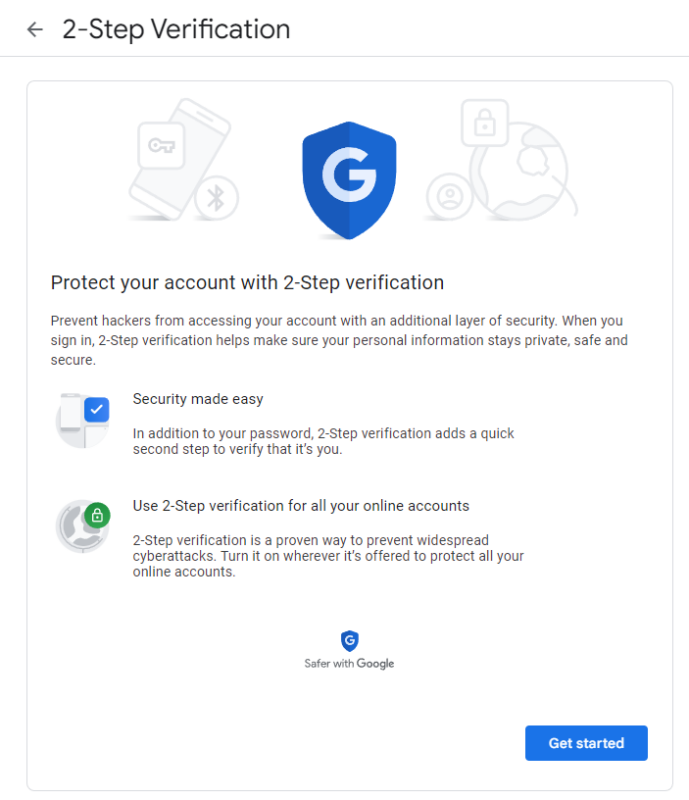
Now, you have to click on “Get started”.
Enter your country and your phone number, where you will receive the message with the confirmation code.
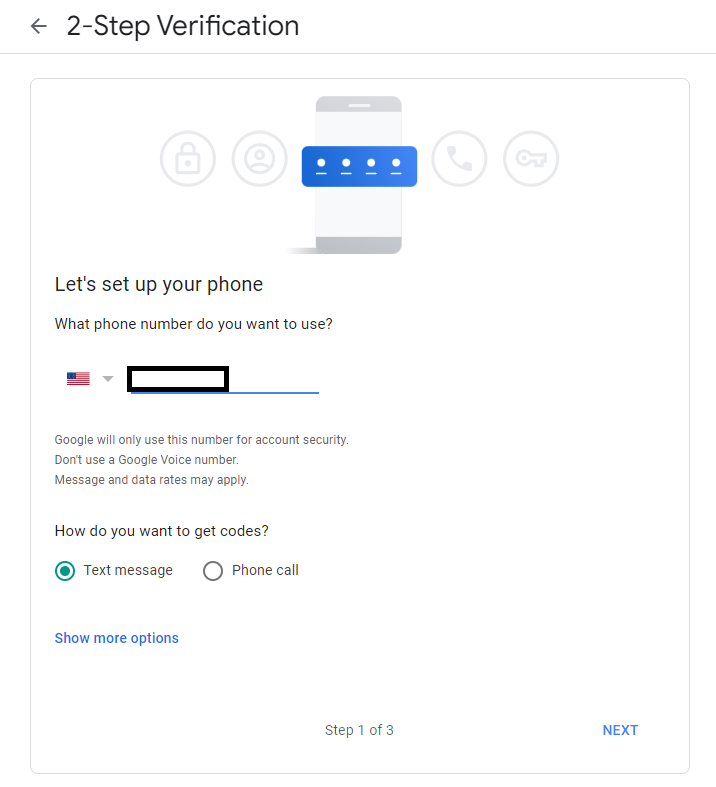
You can also choose to receive the code by text message or by phone call. The most convenient way is to receive it by text message, as it is faster than the other way.
Click on next.
Google will send you a message to verify that your phone number is correct.
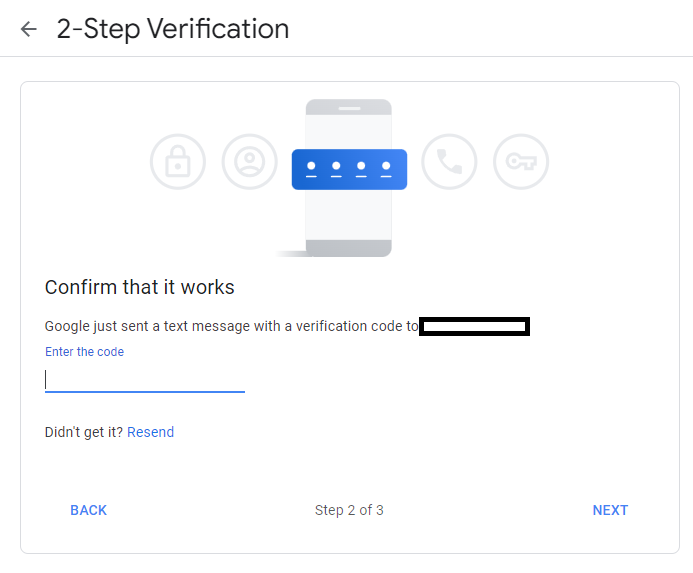
If you did not receive the message, you could ask them to resend it to you. If you still do not receive the message, you have likely entered the wrong number.
Once you receive the message, put it there and click next.
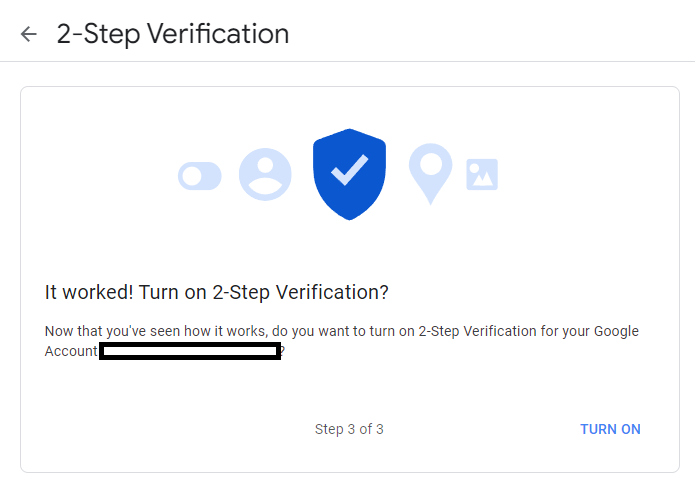
Then click on “Turn on”, and that’s it. You have the 2-Step verification activated.
You are now ready to continue with the app password creation.
3. App password creation
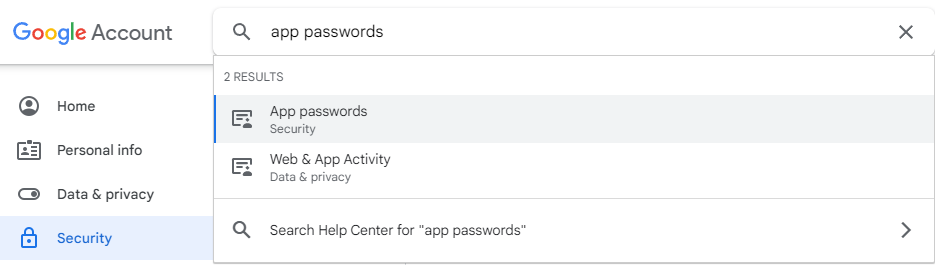
Now you must return to the “Manage your Google Account” section.

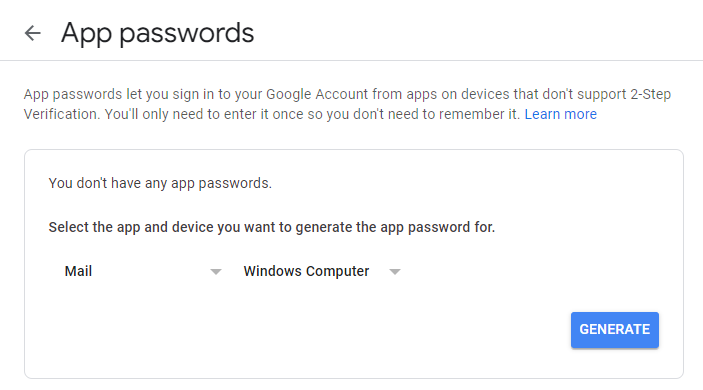
At the top, search for “App passwords” in the search box, and click on the first option.
Where it says “Select app”, you have to put Mail, and where it says “Select device”, you have to put the device you use, in my case, a Windows computer.
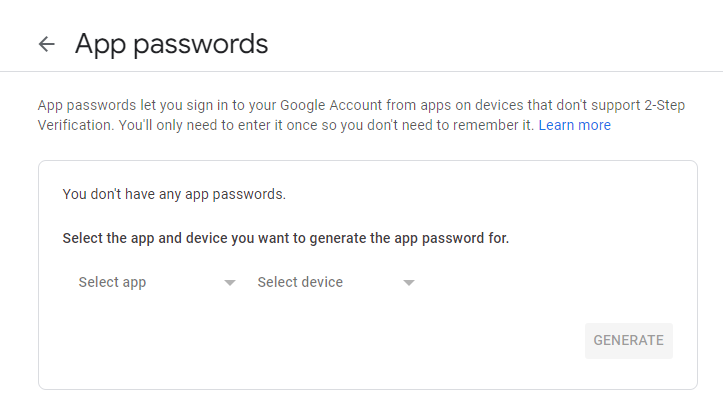
And there you have it, those 16 digits on the top right with a yellow background, are your app password.
That is the password that you have to put in the Inboxlane panel to finish the integration of your email with our application.
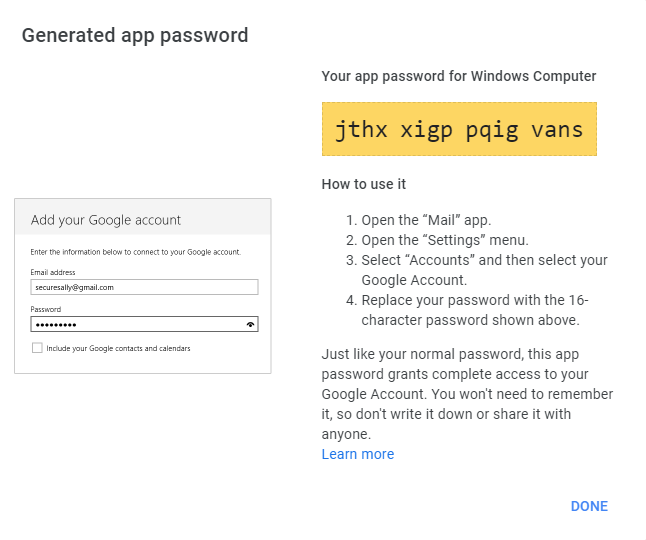
This password can be used for any type of third-party application and will guarantee a very solid security for your accounts.
We hope this tutorial has made it clear to you how to integrate Gmail account with Inboxlane. In case you did not understand any part of it, or if you had any error or problem doing it, contact our support team, and we will help you quickly to solve the problem.
Why should I integrate Gmail account with Inboxlane?
If you are thinking of sending emails to get customers for your company, or if you want to start sending emails to your subscriber list, you can’t just go from sending 0 emails a week to sending 500.
There has to be a warm-up period of at least ten days, and the longer, the better.
These warm-up days will generate a good domain reputation and allow the anti-spam detection algorithms to see your email as a respectable company that sends valuable content and that, most important of all, is not spamming and annoying people.
Our warm-up is based on sending emails from your account, with typical messages that occur in a business conversation. We send and receive emails, in the form of chat, with many users at the same time, which gives a sign that your company is trustworthy.
If your email reaches the spam folder of one of our users, we take care of removing the email from there and mark it as a favorite and as not spam so that the algorithm will understand that your emails are of quality and deserve to be read, not discarded in the spam folder.
Something that differentiates us from other applications is that in addition to conversing with your email and getting your emails out of the spam folder, we also enter the links you send and scroll through the landing page.
This has a significant relevance since most of the emails that go to spam are because they have a link, and that is one of the easiest ways for scammers to scam people.
By entering your links and scrolling, we show that your content is trustworthy and that you are not just another scammer like all the others out there.
If you are interested in using our application to stop falling into the spam folder, you can contact us, and we will help you to have a successful email marketing campaign.
Frequently Asked Questions
Inboxlane is a powerful email management platform designed to streamline and organize your inbox effectively. By integrating G Suite Gmail with Inboxlane, you gain access to advanced features, such as label syncing, automated filters, and unified inbox, resulting in a more efficient email workflow.
Not at all! Adding G Suite Gmail to Inboxlane is straightforward and user-friendly. Our step-by-step guide takes you through the process, making it simple to integrate your accounts seamlessly.
Absolutely! Inboxlane supports multiple G Suite Gmail account integrations, allowing you to manage and access all your emails from different accounts within one centralized platform.
Inboxlane takes data security seriously. Our platform employs industry-standard encryption protocols to safeguard your email data during integration. Rest assured that your information is protected and handled with the utmost care.